Soil Preparation Essentials for Transplanting SuccessArticle
June 4, 2025
Soil Preparation Essentials for Transplanting Success
Are you ready to give your herbs and plants the best possible start in your garden? Whether you’re a seasoned gardener or just starting your herbal journey, understanding the importance of soil preparation is the key to transplanting success. At Richters Herbs, we know that the groundwork you lay before planting is the single most important factor in ensuring your transplants not only survive but thrive. In this comprehensive guide, you’ll discover the science, art, and practical steps to preparing soil that nurtures robust, healthy plants from day one.
Why Soil Preparation Matters for Transplanting
Soil is more than just “dirt”-it’s a living ecosystem that supports plant life. When you transplant herbs or any young plants, their roots face the shock of a new environment. Well-prepared soil cushions this shock, providing the nutrients, structure, and microbial support needed for roots to establish quickly. Good soil:
Supplies essential nutrients and minerals
Maintains consistent moisture while draining excess water
Supports beneficial soil life, such as earthworms and microbes
Allows roots to grow and spread easily
Reduces transplant shock and speeds up recovery
At Richters Herbs, we’ve seen countless gardeners transform their results simply by investing time in proper soil preparation.
Step 1: Test and Analyze Your Soil
Know Your Soil Type
Every garden is unique. Before you add amendments or fertilizers, it’s crucial to understand your soil’s natural characteristics. The three main soil types are:
Clay: Dense, heavy, and slow-draining. Tends to be rich in nutrients but can suffocate roots if not amended.
Sandy: Light, fast-draining, and often low in nutrients. Needs organic matter to retain moisture and fertility.
Loam: The ideal mix-crumbly, well-draining, and nutrient-rich. Most herbs thrive in loamy soil.
To determine your soil type, take a handful of moist soil and squeeze. If it forms a sticky ball, it’s clay; if it falls apart, it’s sandy; if it holds together loosely, it’s loam.
Check Soil pH and Nutrients
Most herbs prefer a slightly acidic to neutral soil pH (6.0-7.0). Use a simple soil test kit to measure pH and nutrient levels. If your soil is too acidic, add lime; if too alkaline, add elemental sulfur or organic matter.
For a more detailed analysis, consider sending a sample to a local extension office or using a digital soil tester. This will tell you the levels of nitrogen (N), phosphorus (P), and potassium (K)-the three main nutrients plants need.
Step 2: Amend and Enrich the Soil
Once you know your soil’s strengths and weaknesses, it’s time to amend it. The goal is to create a loose, fertile, and well-draining environment for roots to grow.
Improving Clay Soil
Add coarse sand or fine gravel to improve drainage
Mix in plenty of organic matter such as compost, well-rotted manure, or leaf mold
Avoid working clay soil when it’s wet to prevent compaction
Improving Sandy Soil
Incorporate organic matter to boost water and nutrient retention
Use peat moss or coconut coir for added moisture-holding capacity
Mulch heavily to reduce evaporation
Boosting Nutrients
Apply a 2-4 inch layer of compost and work it into the top 6-8 inches of soil
Use slow-release organic fertilizers, such as bone meal or fish emulsion
For potassium, add wood ash sparingly
Explore our selection of organic compost and fertilizers to give your herbs the best start.
Step 3: Optimize Soil Structure and Drainage
Good soil structure is crumbly and full of air pockets, allowing roots to breathe and water to drain freely. Here’s how to achieve it:
Break up compacted soil with a garden fork or broadfork
Add perlite, vermiculite, or coarse sand to heavy soils
For areas with poor drainage, consider raised beds or mounds
In containers, use a high-quality potting mix with added perlite
To test drainage, dig a hole about 12 inches deep, fill it with water, and let it drain. Fill it again and time how long it takes to drain. If water remains after 4 hours, improve drainage before transplanting.
Step 4: Activate Soil Life
Healthy soil teems with beneficial microbes, fungi, and earthworms. These organisms break down organic matter, release nutrients, and protect plants from disease. To boost soil life:
Apply compost tea or effective microorganisms (EM) before transplanting
Mulch with shredded leaves, straw, or grass clippings to feed soil organisms
Avoid synthetic chemicals that harm beneficial microbes
Aim to keep soil moist but not soggy, and avoid disturbing the soil more than necessary.
Step 5: Prepare the Planting Site
Now that your soil is rich, loose, and alive, it’s time to prepare the site for transplanting:
Clear the area of weeds, rocks, and debris
Loosen the soil at least 12 inches deep for deep-rooted herbs
Shape beds or rows, leaving enough space for mature plant size
Water the soil thoroughly a day before transplanting
For containers, fill with your custom soil mix, leaving an inch at the top for watering.
Step 6: Harden Off and Condition Transplants
Before moving your herbs outdoors, harden them off by gradually exposing them to outdoor conditions over 7-10 days. Start with a few hours in a sheltered spot and increase exposure each day.
Water plants with a diluted seaweed extract to reduce transplant shock
Trim lower leaves to encourage root growth
Transplant on a cloudy day or late afternoon to minimize stress
Browse our premium herb plants for varieties that transplant beautifully.
Step 7: Transplanting and Aftercare
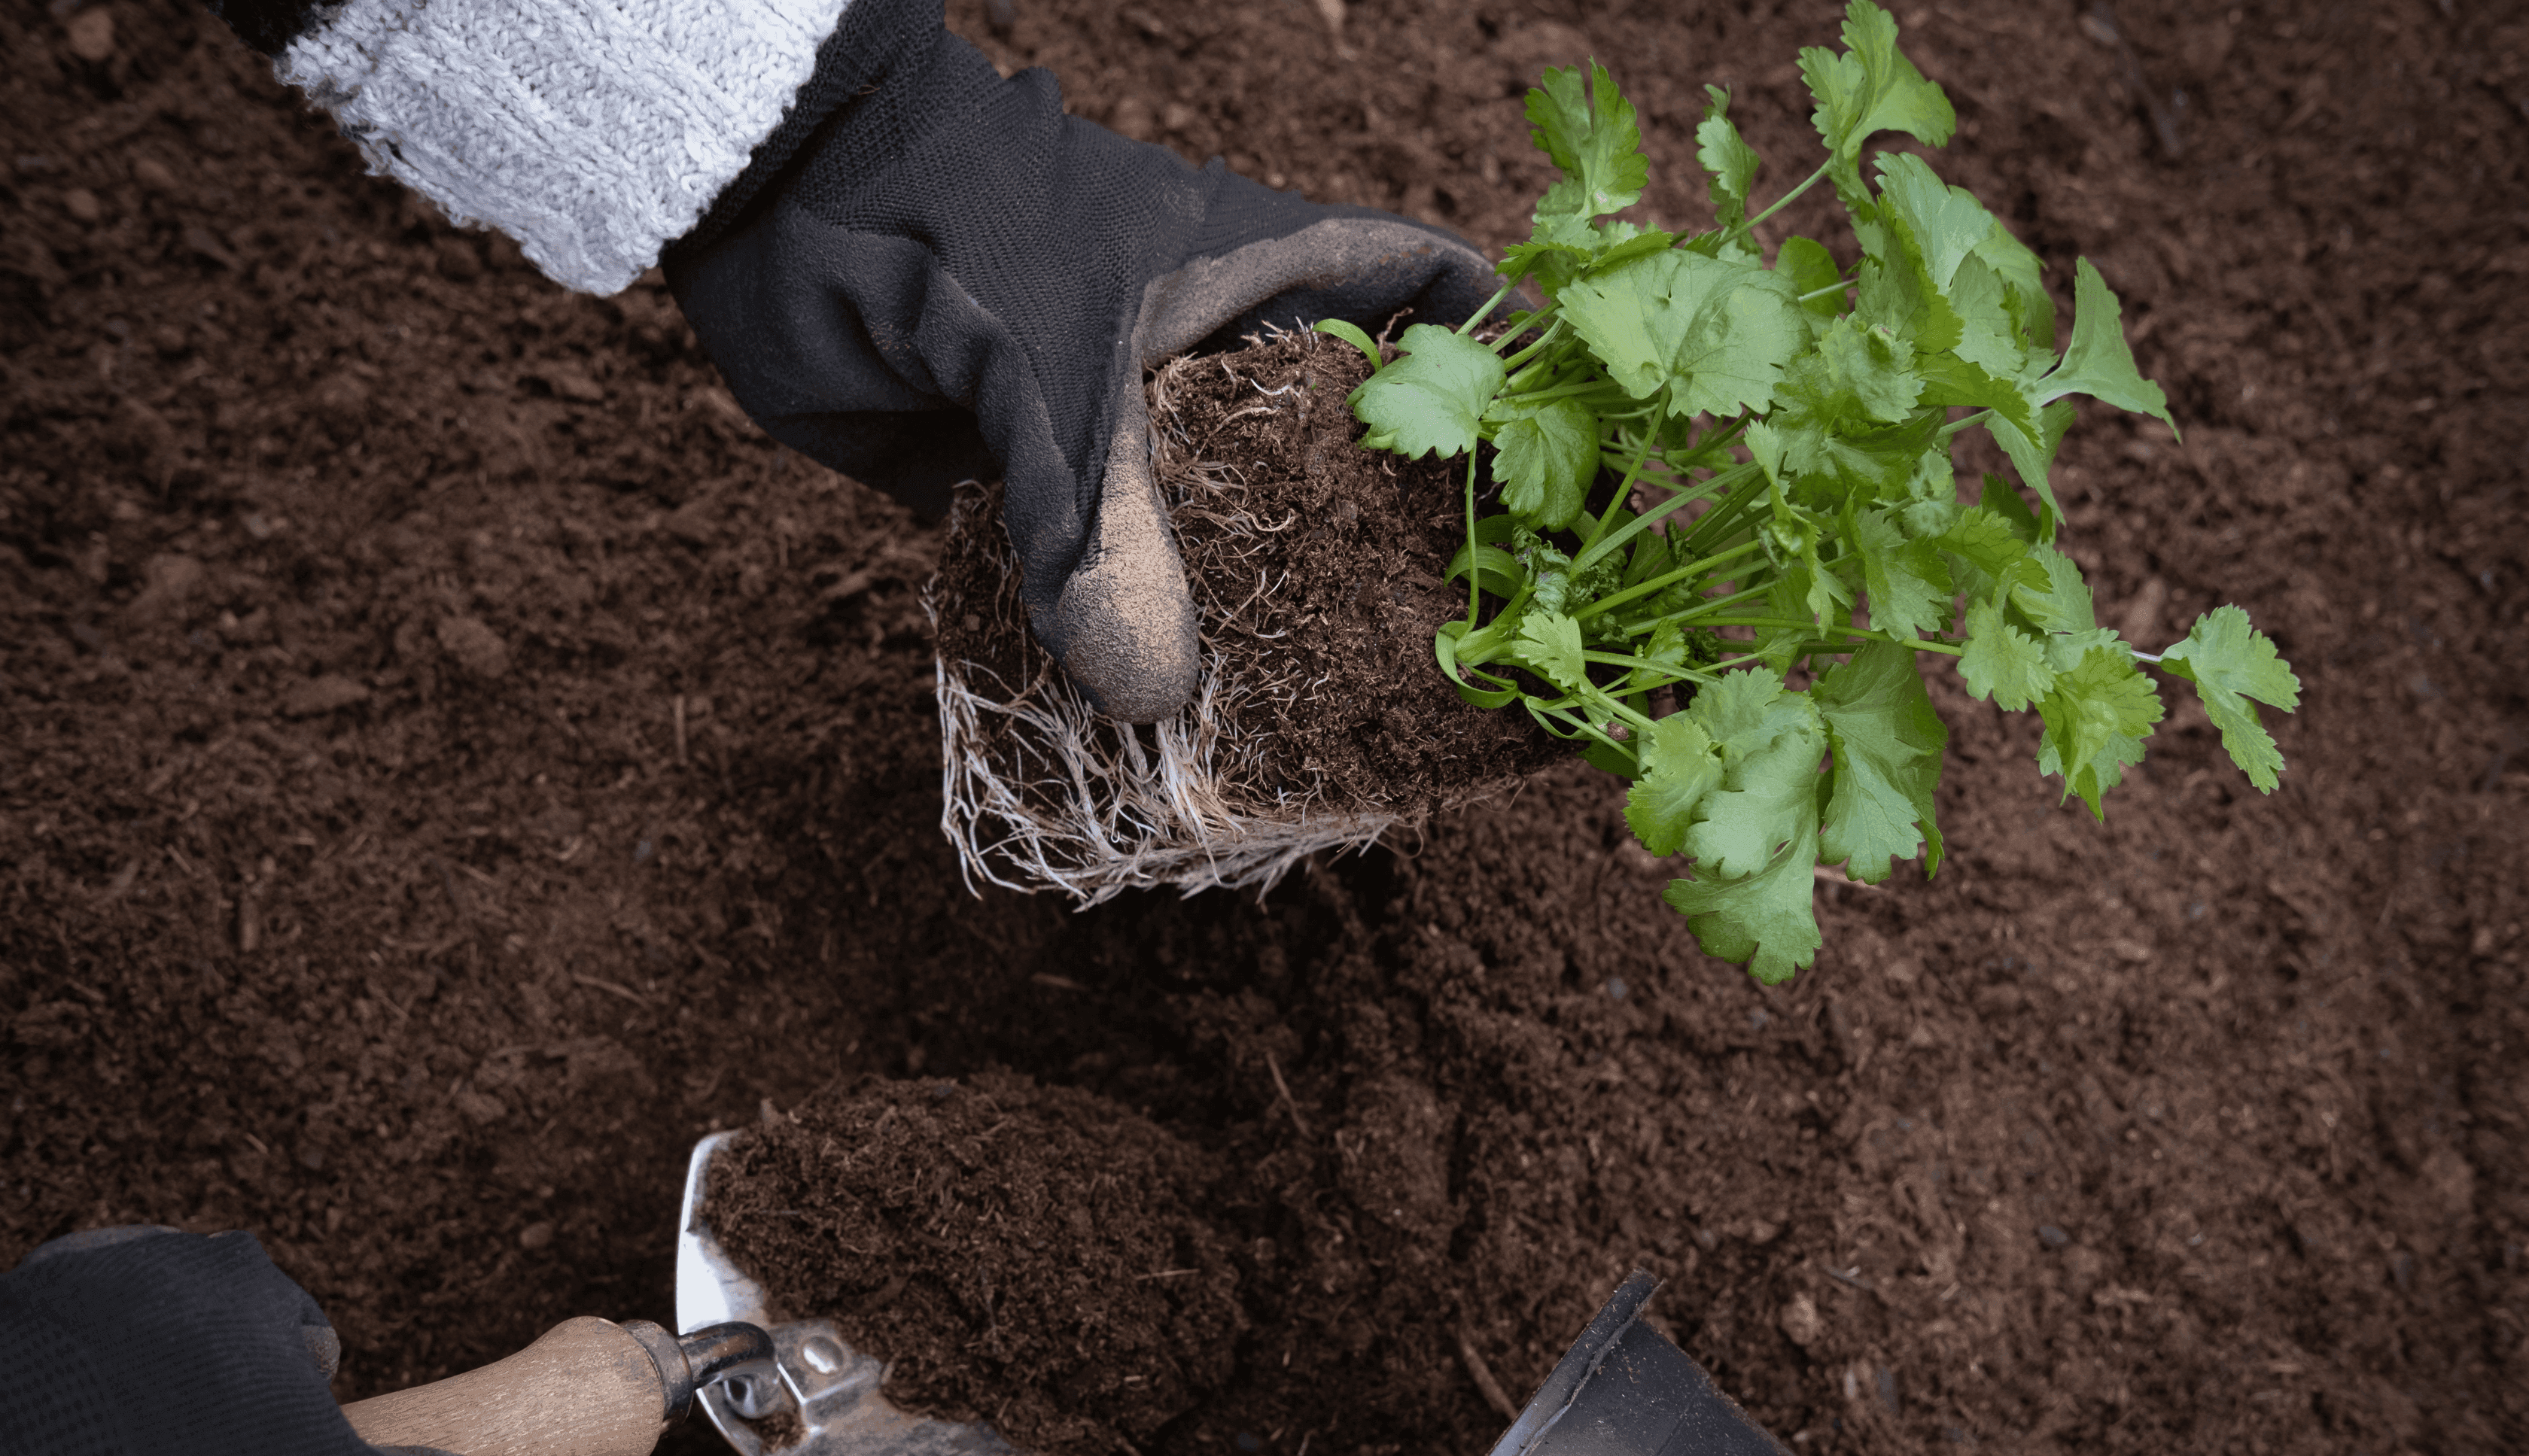
When transplanting, handle plants gently by the root ball. Dig a hole twice as wide as the root ball and just as deep. Place the plant, fill in with prepared soil, and firm gently.
Water immediately after planting to settle soil around roots
Mulch around plants to conserve moisture and suppress weeds
Keep soil consistently moist for the first 2-3 weeks
Shade tender transplants if weather turns hot or windy
Avoid fertilizing heavily until plants show new growth, as too much fertilizer can burn young roots.
Common Soil Preparation Mistakes to Avoid
Transplanting into cold, wet, or compacted soil
Adding fresh manure, which can burn roots
Ignoring soil pH and nutrient imbalances
Overwatering or underwatering after transplanting
Skipping the hardening-off process
Sustainable Soil Practices for Long-Term Success
Healthy soil is a long-term investment. Sustainable practices not only benefit your plants but also the environment. The USDA Natural Resources Conservation Service recommends:
Minimizing tillage to preserve soil structure and life
Using cover crops to protect and enrich soil between plantings
Rotating crops to prevent pest and disease buildup
Mulching with organic materials to feed soil and conserve moisture
At Richters Herbs, we encourage gardeners to build soil health season after season for the most resilient and productive gardens.
Final Soil Preparation Checklist
Soil type and pH tested
Amendments and organic matter added
Drainage verified and improved if needed
Soil life activated with compost or EM
Planting area cleared and shaped
Transplants hardened off and conditioned
Water and mulch ready for aftercare
Conclusion: Give Your Plants the Best Start
Thoughtful soil preparation is the foundation of every successful transplant. By understanding your soil, enriching it with organic matter, optimizing structure and drainage, and activating soil life, you create a welcoming home for your herbs and plants. With these essentials in place, your transplants will establish quickly, grow vigorously, and reward you with lush harvests.
Ready to put these tips into action? Visit the Richters Herbs online store for top-quality seeds, plants, compost, and gardening supplies. Our experts are always here to help you achieve transplanting success and a thriving garden season after season.