Transplanting 101: Moving Herb and Vegetable Starters to Your Garden BedsArticle
April 18, 2025
Transplanting 101: Moving Herb and Vegetable Starters to Your Garden Beds
Spring is the season of promise for every gardener. After weeks of nurturing herb and vegetable starters indoors or in greenhouses, the time comes to move these young plants into their permanent homes. Transplanting is a pivotal moment in every plant’s life, a bridge between careful cultivation and thriving in the open garden. Done right, it sets the stage for a bountiful harvest and healthy, resilient plants. For homeowners eager to make the most of their garden beds, mastering the art of transplanting is essential.
Below, you’ll find a comprehensive, step-by-step guide to transplanting live herb and vegetable starters, including timing, soil preparation, and aftercare. With decades of experience, Richters is here to ensure your gardening season gets off to a flourishing start.
Why Transplanting Matters
Transplanting allows you to give your plants a head start, especially in regions with short growing seasons. By starting herbs and vegetables indoors or purchasing healthy starters, you bypass the uncertainties of seed germination and early growth. However, moving these plants outdoors is a delicate process that requires thoughtful planning and gentle handling.
Step 1: Timing - When to Transplant
Getting the timing right is crucial for transplant success. Transplant too early, and your plants may suffer from cold stress; too late, and they might become root-bound or stunted.
Key Considerations:
Soil Temperature: Most herbs and vegetables prefer soil temperatures consistently above 50–60°F (10–16°C). While you can use a soil thermometer for precise readings, a good rule of thumb is to wait until overnight lows stay above 50°F (10°C) for at least a week. This usually indicates that the soil has warmed enough for healthy transplanting.
Weather Conditions: Choose a warm, overcast day or transplant early in the morning or late in the afternoon. Avoid transplanting in the heat of midday or on windy days, as these conditions can stress young plants.
Plant Readiness: Plant Readiness: Seedlings are ready to transplant when they have at least two sets of true leaves—the mature leaves that develop after the initial seed leaves. True leaves resemble the adult plant’s foliage, while the first pair are usually simpler and rounder. Your seedlings should be sturdy, upright, and well-rooted, but not root-bound. Overgrown seedlings can become stressed and may struggle to adapt, so try to transplant before they outgrow their containers.
Step 2: Hardening Off - Acclimating Your Plants
Before moving your starters outdoors, they need to adjust to the new environment, a process called “hardening off.” This step reduces transplant shock and prepares plants for the elements.
How to Harden Off:
Start 7–10 Days Before Transplanting: Place your seedlings outdoors in a sheltered, shaded spot for a few hours each day, gradually increasing their exposure to sunlight and wind.
Monitor Closely: Bring plants indoors if temperatures drop or conditions become harsh.
Gradually Increase Exposure: By the end of the hardening-off period, your plants should be spending full days outdoors and be ready for permanent planting.
Step 3: Soil Preparation - Setting the Stage for Success
Healthy soil is the foundation of a thriving garden. Proper preparation ensures your transplants have the nutrients, structure, and moisture they need to establish quickly.
Steps for Soil Prep:
Weed Control: Remove weeds manually or use a silage tarp or landscape fabric to suppress weed growth and warm the soil. This step also helps retain soil moisture.
Loosen the Soil: Use a garden fork or tiller to loosen the top 6–8 inches of soil, ensuring good root penetration.
Add Organic Matter: Mix in well-rotted compost or aged manure 1-2 weeks before planting to boost nutrient content and microbial activity.
Plan for Watering: Watering needs will depend on your plant selection and local climate. In general, for moisture-loving plants, consider installing drip irrigation or soaker hoses to provide steady, consistent moisture. For drought-tolerant plants, good drainage is more important as they prefer to dry out between deep waterings.
Step 4: Preparing the Starters - Water and Feed
Transplanting can stress young plants, so it’s important to prepare them for the move.
Best Practices:
Water Thoroughly: A few hours before transplanting, water your starters well so the entire root ball is moist. This makes removal easier and reduces shock.
Optional Feeding: Consider giving seedlings a diluted organic liquid fertilizer a day or two before transplanting to boost their resilience.
Step 5: Digging the Holes - Ready the Bed
Having your garden bed prepared in advance minimizes the time roots are exposed to air, reducing transplant shock.
How-To:
Spacing: Refer to the specific spacing requirements for each herb or vegetable. Overcrowding can lead to poor air circulation and disease.
Hole Size: Dig holes slightly larger than the root ball of each plant. This gives the roots room to expand and makes planting easier.
Moisten the Holes: Water the holes before planting to provide immediate moisture to the roots.
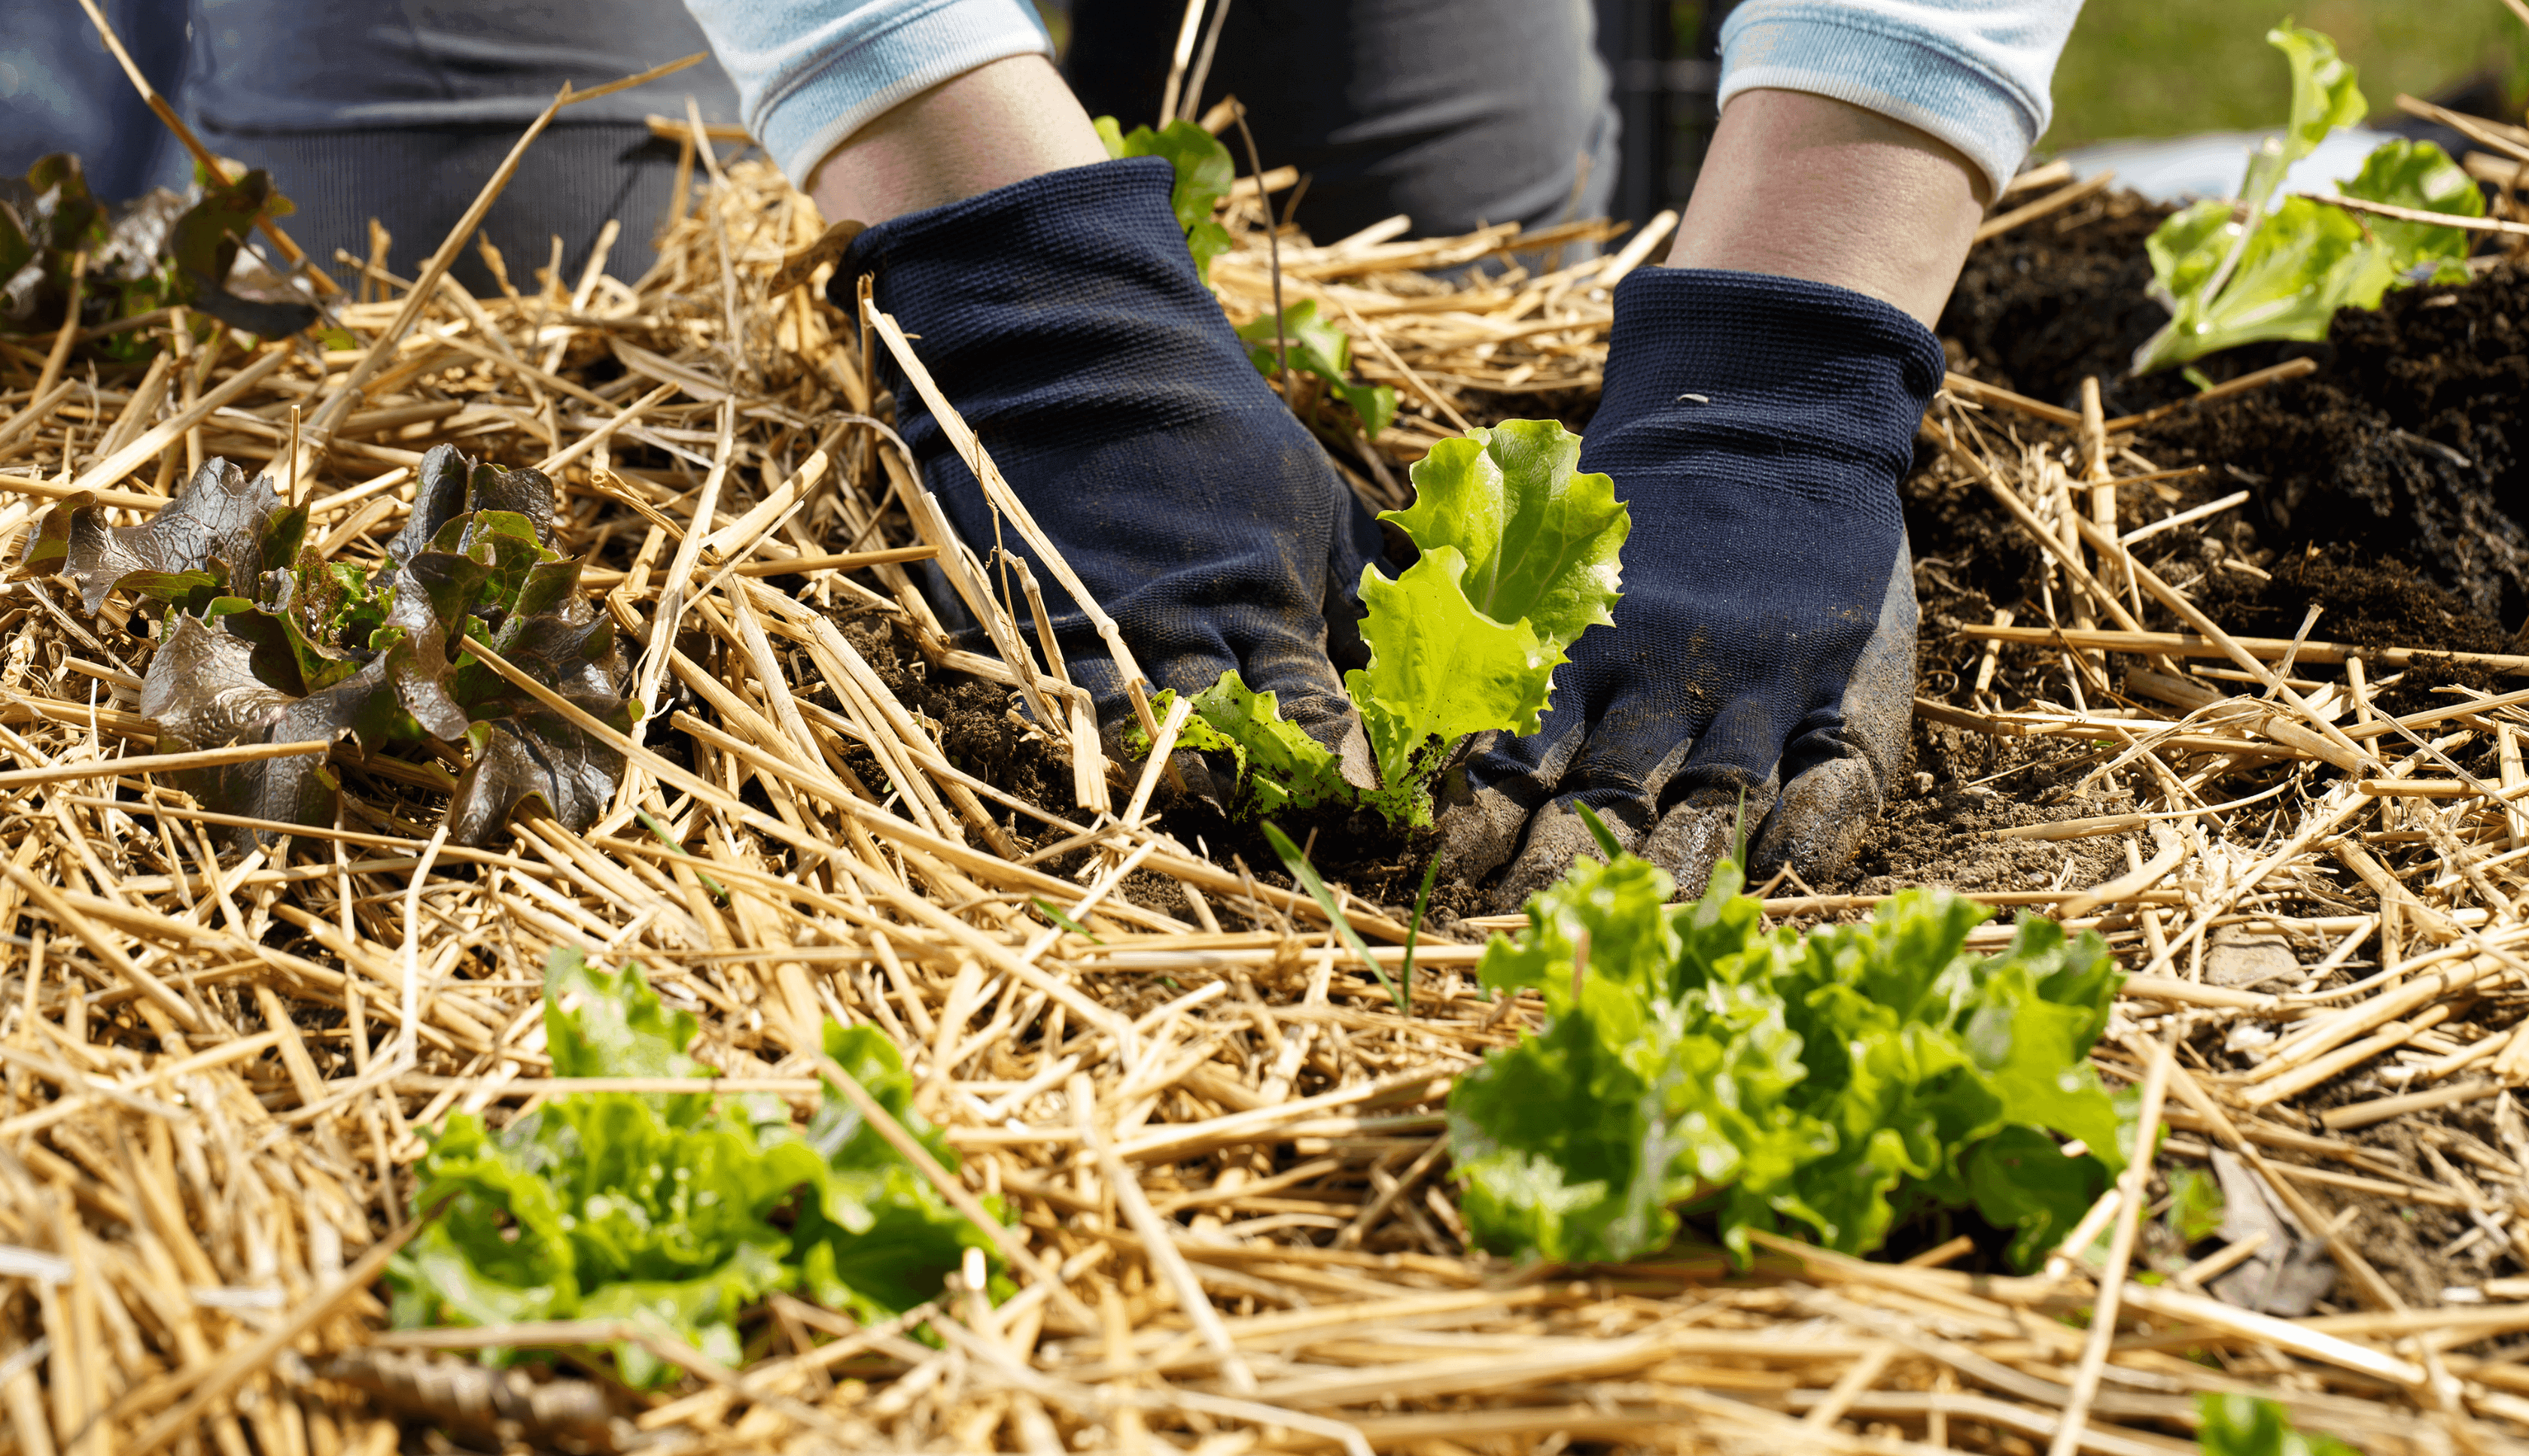
Step 6: Transplanting - Moving with Care
Now comes the most critical step: moving your plants from their containers into the garden.
Step-by-Step:
Remove Gently: Turn the pot upside down while supporting the soil and gently tap the bottom to slide out the plant. Avoid pulling on stems, which can cause damage.
Handle Roots Carefully: Try to keep as much of the original soil around the roots as possible. For plants like basil or tomatoes, you can bury the stem up to the first set of leaves to encourage stronger rooting.
Loosen the Roots: If the roots are circling the bottom or tightly packed, gently tease them apart with your fingers. This helps the roots grow outward into the surrounding soil instead of staying confined in a tight ball.
Place in the Hole: Set the plant in the hole at the same depth it was growing in its container (except for varieties that benefit from deeper planting).
Backfill: Fill in around the root ball with soil, gently pressing to eliminate air pockets and ensure good root-to-soil contact.
Water In: Water immediately after planting to settle the soil and further reduce transplant shock.
Step 7: Special Tips for Herbs and Vegetables
Dividing Clumps: If you’re transplanting densely sown seedlings, gently tease apart the root ball and plant in small clumps or as individual plants.
Thinning: Remove weaker seedlings to ensure that only the strongest plants remain, giving them ample space to grow.
Protection: Use row covers, cloches, or frost cloth to shield young transplants from sudden temperature drops, wind, or pests during their first week outdoors.
Step 8: Aftercare - Helping Your Plants Settle In
The days and weeks following transplanting are crucial for plant establishment.
Key Aftercare Steps:
Consistent Watering: Keep the soil evenly moist but not waterlogged. Hand-water daily for the first week, even if you have drip irrigation, to ensure roots don’t dry out. After that, adjust watering based on your plant types: vegetables and leafy herbs often need steady moisture, while Mediterranean herbs like rosemary, thyme, and oregano prefer to dry out between deep waterings.
Mulching: Apply a layer of organic mulch around the base of your plants to retain moisture, suppress weeds, and regulate soil temperature.
Monitor Growth: Watch for signs of stress, such as wilting, yellowing, or slow growth. Address issues promptly by adjusting water, checking for pests, or providing shade if needed.
Gradual Feeding (If Needed):
If you’ve prepared your soil with compost or organic matter, your plants may not need any additional fertilizer early on. Watch how your plants respond—new, healthy growth is a good sign that they’re getting what they need. If growth stalls after a few weeks or leaves start to pale, you can supplement with a balanced organic fertilizer.
Troubleshooting Common Transplant Issues
Transplant Shock: Wilting or yellowing after transplanting is common but should resolve within a week. Ensure proper watering and avoid over-fertilizing immediately after planting.
Pests and Disease: Young plants are vulnerable. Inspect regularly for aphids, slugs, or fungal issues. Consider the use of companion planting, which uses aromatic herbs like basil, rosemary, and thyme, along with flowers such as marigold and nasturtium, to naturally deter pests and attract beneficial insects. This simple method helps reduce pest damage in your garden without the need for chemicals.
Weather Extremes: Sudden heat or cold snaps can stress new transplants. Provide temporary shade or frost protection as necessary.
Creating a Thriving Garden with Richters
Transplanting is both an art and a science. With careful timing, thorough preparation, and attentive aftercare, your herb and vegetable starters will flourish in their new garden beds. At Richters, we’re committed to supporting your success every step of the way. Explore our growing guides for more detailed advice, or browse our live plant selection and natural fertilizers to give your garden the best possible start.